
Turning ice cream days into snack breaks can be a refreshing twist on a classic treat. You can explore a variety of flavors and toppings that elevate the experience. Think about how different combinations can transform a simple scoop into something memorable. But there’s more to it than just adding sprinkles. Let’s look at how you can enhance your ice cream enjoyment and create lasting moments with those around you.
What Is Ice Cream Fun?
When you think about snack breaks, ice cream fun definitely comes to mind. The joy of scooping your favorite flavors into a bowl or cone can turn an ordinary moment into a delightful experience.
Picture yourself on a sunny afternoon, savoring that creamy texture and refreshing chill. Ice cream fun isn’t just about the treat; it’s about sharing those moments with friends or family. You might create a sundae bar, letting everyone customize their toppings, or enjoy a simple scoop while chatting about your day.
The excitement of trying new flavors and combinations adds a sense of adventure. Overall, ice cream fun transforms snack breaks into a mini celebration, making every bite a reason to smile.
Essential Flavor Components
To create unforgettable snack breaks, you’ll want to focus on essential flavor components.
Think about how different elements can elevate your treats, such as:
- Key flavor bases for depth
- Toppings like sprinkles or nuts for crunch
- Balance between sweet and savory
Mix and match these components to find your perfect combination!
Key Flavor Bases
Flavor is the heart of any snack break, and understanding key flavor bases can elevate your creations.
When you know how to build your flavors, your snacks will stand out. Here are three essential flavor bases to consider:
- Sweet: Think chocolate, caramel, or honey. Sweetness can balance other flavors and add richness.
- Savory: Ingredients like cheese, herbs, or spices bring depth and complexity, making your snacks satisfying.
- Sour: A splash of citrus or a hint of vinegar can brighten your snacks, cutting through richness and enhancing overall taste.
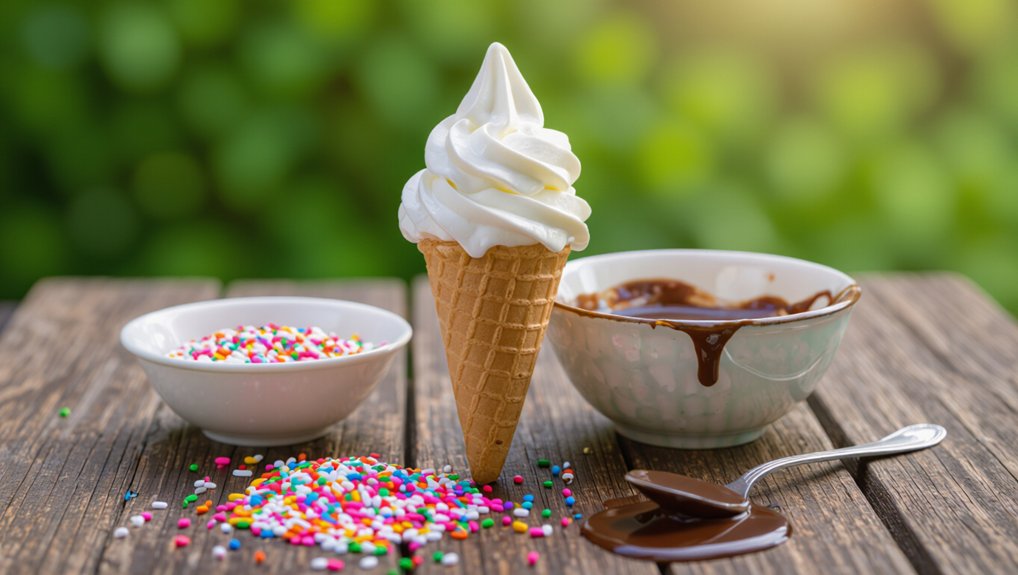
Toppings Like Sprinkles or Nuts
Building on those key flavor bases, toppings like sprinkles or nuts can elevate your snacks even further. They add texture, color, and a burst of flavor that makes each bite exciting.
Choosing the right toppings can transform your snack experience entirely.
Consider these options:
- Sprinkles: They bring a fun, festive vibe and a touch of sweetness.
- Nuts: They add crunch and healthy fats, enhancing both flavor and nutrition.
- Chocolate Chips: They melt slightly, creating a rich, creamy taste.
Mix and match these toppings to discover combinations that delight your palate.
Whether you’re going for a classic or something adventurous, the right toppings can take your snack breaks to new heights!
Detailed Preparation Instructions
Now that you’ve got your flavors sorted, it’s time to focus on the preparation.
You’ll want to master mixing techniques, churn your ingredients for that creamy texture, and don’t forget to garnish with fresh berries.
Let’s break down each step to ensure your snack breaks are a hit!
Ingredient Mixing Techniques
Mixing ingredients effectively can make or break your snack break experience. To achieve a perfect blend, follow these essential techniques:
- Use the Right Tools: A whisk, spatula, or electric mixer can enhance your mixing process, ensuring even distribution of ingredients.
- Combine Dry and Wet Ingredients Separately: This prevents clumping and allows for a smoother texture. Mix dry ingredients first, then gradually incorporate wet ones.
- Don’t Overmix: Mixing just until combined helps maintain a light and airy texture, especially in baked goods.
Churning for Creamy Texture
Achieving a creamy texture in your snacks takes more than just mixing; churning plays a vital role. This process incorporates air into your mixture, promoting that smooth consistency you crave.
Here’s how to get it right:
- Use an ice cream maker: It churns continuously, ensuring even texture and incorporating air efficiently.
- Chill your base: Before churning, make sure your mixture is well-chilled. This speeds up the process and enhances creaminess.
- Churn until soft-serve consistency: Don’t overdo it! Stop when your mixture reaches that velvety, soft-serve texture, then transfer it to a container for freezing.
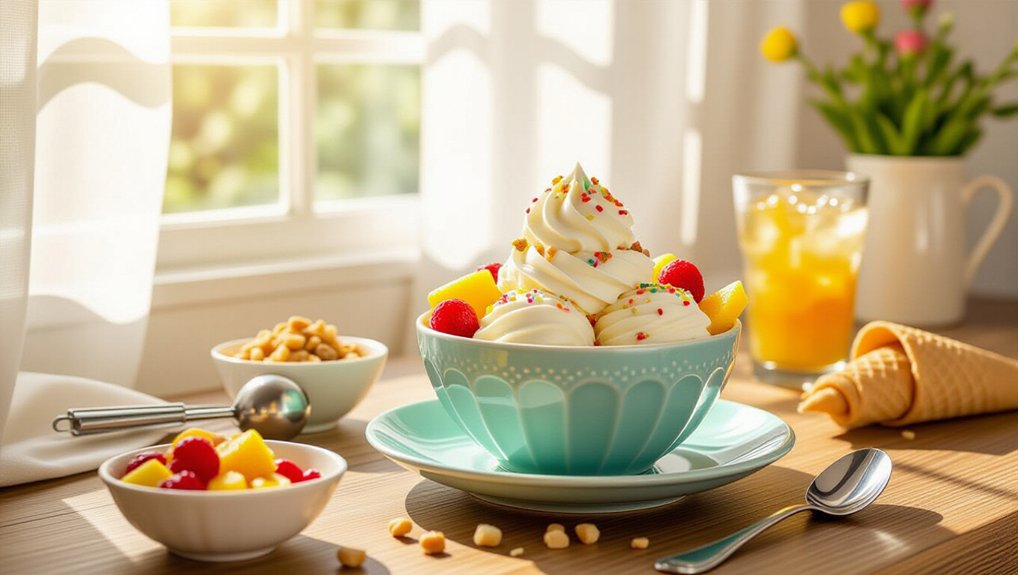
Garnish With Fresh Berries
Garnishing your snacks with fresh berries adds a burst of color and flavor that elevates any treat. Not only do they look appealing, but they also enhance the taste.
Here’s how to prepare your berries for the perfect garnish:
- Choose your berries: Select fresh strawberries, blueberries, or raspberries. Make sure they’re ripe and vibrant.
- Wash and dry: Rinse your berries gently under cold water and pat them dry with a paper towel. This keeps them fresh and clean.
- Slice if needed: For larger berries like strawberries, slice them into halves or quarters to make them easier to eat and showcase.
Sprinkle these beauties over your snacks, and enjoy the delightful combination of flavors!
Flavor Pairing Suggestions
Flavor Pairing Snack Ideas
Elevate your snack breaks with these delicious flavor pairings that combine sweet, salty, and savory elements for an extraordinary experience.
Ingredients
- Chocolate-covered pretzels
- Peanut butter
- Apple slices
- Yogurt
- Oranges or grapefruits
- Avocado
- Whole-grain toast
- Feta cheese
- Chili flakes
- Nuts
- Dried fruits
- Hummus
- Crispy veggies
- Whole-grain crackers
Instructions
- Mix chocolate-covered pretzels with peanut butter and apple slices for a sweet and salty treat.
- Combine yogurt with tangy citrus fruits for a refreshing snack.
- Spread avocado on whole-grain toast, sprinkle with feta, and add chili flakes for extra flavor.
- Create a trail mix by combining nuts and dried fruits for a crunchy snack.
- Dip crunchy veggies or whole-grain crackers in hummus for a savory option.
Chill Bowls Before Serving
Chilling your bowls can elevate your snack game and keep everything fresh.
Here are some key points to consider:
- Benefits of chilled bowls: They help maintain the ideal temperature for your snacks.
- Ideal chilling times: Give your bowls at least 30 minutes in the fridge.
- Material choices matter: Opt for glass or metal for better heat retention.
Benefits Of Chilled Bowls
When you serve snacks in chilled bowls, you not only enhance their visual appeal but also keep them fresh and cool longer. Chilled bowls help maintain the ideal temperature for your snacks, making them more enjoyable.
Whether it’s a creamy dip or fresh fruit, the coolness ensures that flavors remain vibrant and textures stay crisp. Plus, it shows your guests that you’re attentive to detail, creating a welcoming atmosphere.
Using chilled bowls also minimizes the risk of spoilage, especially with dairy products or perishable items. This means you can relax and enjoy your snack break without worrying about food safety.
Ideal Chilling Times
To ensure your snacks stay cool and delightful, it’s essential to chill your bowls ahead of time. Ideally, you should place your bowls in the freezer for about 15 to 30 minutes before serving. This short period allows the bowls to absorb the cold, keeping your snacks fresh longer.
If you’re short on time, even a quick chill in the fridge for 10 minutes can help.
Consider how long your snacks will sit out; if they’re likely to warm up quickly, a longer chill is better.
Also, if you’re serving multiple snacks, chill additional bowls so you can switch them out as needed. This way, your snack breaks will always feel refreshing and enjoyable!
Material Choices Matter
Choosing the right materials for your snack bowls can significantly impact their chill factor. Opt for glass or ceramic bowls; they retain cold better than plastic.
Before serving, chill these bowls in the freezer for about 10-15 minutes. This simple step keeps your snacks cooler for longer, enhancing the overall experience.
If you’re using metal bowls, they’re great too, as they conduct cold effectively. Just remember to pre-chill them as well.
Avoid using lightweight or flimsy materials, as they won’t hold the chill as efficiently.
Caloric Content per Serving
Understanding the caloric content per serving is crucial for making informed snack choices. When you know what you’re consuming, you can enjoy your treats without guilt. Here’s a quick look at the caloric content of some popular snacks:
| Snack | Calories per Serving | Feel-Good Factor |
|---|---|---|
| Dark Chocolate | 170 | Indulgent |
| Greek Yogurt | 100 | Wholesome |
| Potato Chips | 150 | Crunchy |
| Almonds | 160 | Nutty |
| Granola Bar | 120 | Energizing |
Overmixing the Ingredients
When preparing your snacks, overmixing the ingredients can be a common pitfall. It might seem like a good idea to ensure everything is well combined, but this often leads to a tougher texture and less enjoyable flavor.
To avoid this mistake, keep these tips in mind:
- Mix just until combined: Stir the ingredients until you see no dry spots. This helps maintain a light texture.
- Use a gentle hand: Fold ingredients together instead of vigorously stirring. This preserves air and keeps your snack fluffy.
- Know your ingredients: Different components require different mixing techniques. For example, delicate items like whipped cream need minimal handling.
Add Crushed Cookies Topping
To elevate your snack break, consider adding a crushed cookie topping for a delightful crunch.
You can swirl in some chocolate or nut butter to enhance the flavor even more.
It’s a simple way to turn a basic treat into something truly special!
Chocolate Swirl Addition
Adding a crushed cookie topping to your chocolate swirl can elevate your snack break to a whole new level of indulgence.
The combination of creamy chocolate and crunchy cookies creates a delightful contrast that’ll keep you coming back for more. Here’s how to enhance that chocolate swirl:
- Choose your favorite cookies: Whether it’s Oreos, chocolate chip, or graham crackers, pick what you love.
- Crush them well: Use a rolling pin or a food processor to get the perfect texture—fine crumbs or chunky bits work great.
- Sprinkle generously: Top your chocolate swirl with the crushed cookies, ensuring every bite is filled with that delicious crunch.
This simple addition transforms a basic snack into a decadent treat. Enjoy every bite!
Swirl in Nut Butter
Swirling in nut butter takes your chocolate swirl to a whole new level of flavor and creaminess. It’s an effortless way to elevate your snack breaks. Here’s how you can do it:
- Choose your favorite nut butter—options like almond, peanut, or cashew work great.
- Gently warm the nut butter for easier swirling; just 10-15 seconds in the microwave should do.
- Drizzle it over your chocolate swirl, then use a knife or spoon to create those beautiful swirls.
To take it even further, add crushed cookies on top! The crunch pairs perfectly with the smooth nut butter and rich chocolate.
Enjoy your decadent creation, and watch your snack breaks transform into something truly special!
Ice Cream Storage Tips
To keep your ice cream perfectly creamy, ensure your freezer’s set to the ideal temperature.
Storing it in an airtight container is crucial to prevent freezer burn.
Plus, avoiding ice crystals will help maintain that smooth texture you love.
Ideal Freezer Temperature
Keeping your ice cream at the perfect consistency requires a freezer temperature of around -10°F to -20°F (-23°C to -29°C). This range ensures your ice cream stays firm yet scoopable, avoiding the dreaded icy texture that comes from being too cold.
If your freezer’s temperature is higher, your ice cream might become soft and lose its delightful texture.
To check the temperature, invest in a freezer thermometer; it’s a small price for the joy of perfect ice cream.
Also, avoid frequent opening of the freezer door, as this can cause temperature fluctuations.
Airtight Container Importance
While enjoying your ice cream is essential, storing it properly is just as important. Using an airtight container is a game-changer for keeping your treat fresh and delicious. When you seal your ice cream, you’re protecting it from air exposure, which can lead to freezer burn or a dry texture.
Choose a sturdy container that fits your ice cream snugly to minimize air pockets. You’ll also want to scoop out what you need quickly, then reseal it immediately. This keeps the cold in and the warmth out, preserving that creamy goodness you love.
Plus, an airtight container prevents your ice cream from absorbing other odors in the freezer, ensuring every scoop tastes just as delightful as the first.
Avoiding Ice Crystals
Ice crystals can ruin your ice cream experience, but with the right storage techniques, you can keep them at bay.
First, always store your ice cream at the back of the freezer where temperatures are most consistent. Make sure your freezer is set to 0°F (-18°C) or lower.
When you’re ready to dig in, scoop out what you need quickly, then return the container to the freezer immediately to minimize exposure to warmer air.
If your ice cream’s been open for a while, consider pressing plastic wrap directly onto the surface before sealing the container. This helps reduce air pockets that cause ice crystals to form.
With these simple tips, you’ll enjoy smoother, creamier ice cream every time.
Enjoy With Friends and Family
Snack breaks become even more enjoyable when you share them with friends and family. Whether you’re gathering around the kitchen table or lounging in the backyard, the company elevates the experience.
Grab an assortment of snacks—think chips, fruit, or homemade treats—and let everyone dig in. You can even make it a fun game by asking each person to bring their favorite snack.
As you chat and laugh, those simple moments become cherished memories. Consider pairing snacks with activities like board games or movie marathons to keep the energy high.
Sharing your snack break not only brings joy but also strengthens bonds. So, invite your loved ones over and turn an ordinary snack break into a delightful gathering!
Frequently Asked Questions
Can I Use Dairy-Free Alternatives for Ice Cream?
Yes, you can definitely use dairy-free alternatives for ice cream! Options like coconut milk, almond milk, or cashew cream work great. They’ll give you a creamy texture and delicious flavor without the dairy. Enjoy your treats!
How Long Does Homemade Ice Cream Last in the Freezer?
Homemade ice cream lasts about two to three weeks in the freezer. To maintain its texture and flavor, store it in an airtight container and keep it as far back in the freezer as possible.
Is It Safe to Eat Raw Eggs in Ice Cream?
It’s generally not safe to eat raw eggs in ice cream due to the risk of salmonella. If you want to enjoy homemade ice cream, consider using pasteurized eggs or egg substitutes for safety.
What Equipment Do I Need for Making Ice Cream?
You’ll need an ice cream maker, mixing bowls, a whisk, and measuring cups. A thermometer helps ensure your mixture’s at the right temperature. Don’t forget quality ingredients like cream, sugar, and your favorite flavors!
Can I Make Ice Cream Without a Machine?
Yes, you can make ice cream without a machine! Just mix your ingredients, freeze the mixture, and stir every 30 minutes until it’s creamy. It’s simple, fun, and you’ll enjoy delicious homemade ice cream!
Conclusion
Transforming ice cream days into snack breaks is all about creativity and enjoyment. By exploring diverse flavors, experimenting with fun toppings, and mastering preparation techniques, you can elevate every scoop. Remember to chill your bowls for that perfect creamy texture and avoid overmixing to keep it light. Share these delightful moments with friends and family, and don’t forget to savor each bite. Embrace the fun, and make your ice cream experience truly unforgettable!