
When you want to master the art of making samosas, it’s essential to start with the right dough and filling. You’ll find that the balance of spices and texture can elevate your snack to a new level. But if you’re not careful, things can go awry during the cooking process. Let’s explore the key steps you need to take to create the perfect samosa without any mishaps.
What Is a Samosa?
A samosa is a popular snack with a rich history and diverse origins across cultures.
You’ll find it filled with various ingredients, from spiced potatoes to meat, and served in different styles.
Understanding its background and variations can enhance your appreciation for this delicious treat.
Origin And History
While many enjoy the savory delight of a samosa, few know its fascinating origin and history. You might be surprised to learn that the samosa traces its roots back to ancient Persia, where it was known as the “sambosa.”
It traveled through trade routes, reaching India by the 13th century, where it adapted to local tastes and ingredients. Initially enjoyed as a royal delicacy, it quickly became popular among all classes.
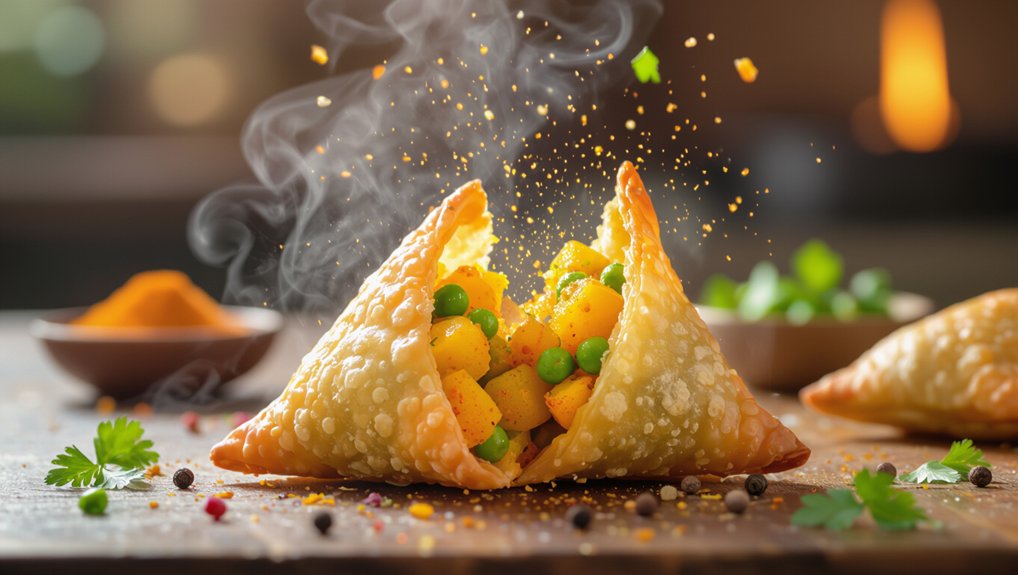
Over time, regional variations emerged, reflecting the diverse cultures of the Indian subcontinent. Today, samosas are a beloved snack worldwide, often filled with spiced potatoes, peas, or meat.
Understanding its history adds depth to your appreciation of this iconic dish.
Ingredients And Variations
Samosas aren’t just a delightful snack; they’re a versatile dish that can cater to various tastes. Typically, you’ll find a crispy outer shell made from all-purpose flour, but you can easily swap it for whole wheat or even gluten-free options.
The filling is where the magic happens; traditional choices include spiced potatoes, peas, and lentils, but you can get creative with meat, cheese, or even sweet fillings like chocolate or fruit. Seasonings like cumin, coriander, and chili add depth, so feel free to adjust to your liking.
Experimenting with different ingredients can lead to exciting twists, making each batch uniquely yours. The possibilities are endless, allowing you to customize your samosas for any occasion!
Popular Serving Styles
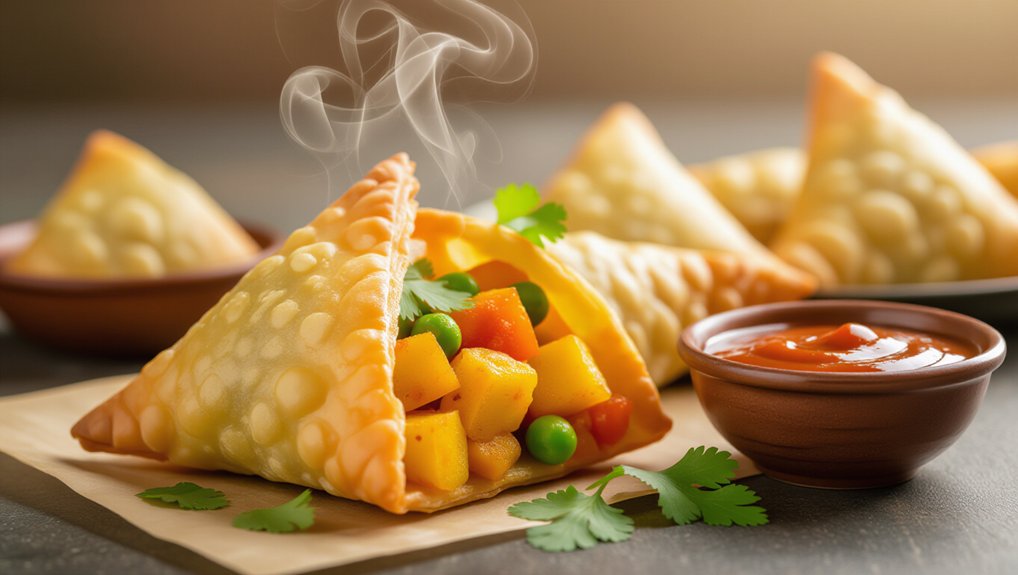
When it comes to serving samosas, the options are as diverse as their fillings. You can plate them with a vibrant mint chutney or tangy tamarind sauce for dipping. Alternatively, serve them with a cooling yogurt sauce to balance the spices.
For a twist, try stacking them on a bed of salad greens, adding a fresh crunch to each bite.
If you’re hosting a party, consider presenting them in a tiered display for an eye-catching effect. Don’t forget to sprinkle some chaat masala on top for an extra kick.
Whether you enjoy them as a snack or as part of a meal, these serving styles elevate your samosa experience to new heights.
Essential Spices and Potatoes
When you’re preparing the perfect samosa filling, the right spices and potatoes are crucial.
These ingredients not only enhance flavor but also create that signature texture. Let’s explore the essential components that will elevate your samosas to the next level.
- Cumin seeds for warmth and earthiness
- Coriander powder for a hint of citrus
- Turmeric for vibrant color and subtle bitterness
- Mashed potatoes for a creamy base and heartiness
Key Components for Filling
A delicious samosa filling hinges on the right balance of spices and potatoes.
You’ll want to choose potatoes that are starchy, as they provide a creamy texture when cooked. Start with a base of boiled and mashed potatoes, then layer in essential spices that pack a punch.
Here are some key components to consider:
- Cumin seeds: Add warmth and an earthy flavor.
- Coriander powder: Brings a subtle sweetness that enhances the filling.
- Turmeric: Offers a vibrant color and a hint of bitterness.
- Garam masala: A blend of spices that provides depth and complexity.
Combine these ingredients carefully, and you’ll create a filling that’s flavorful and satisfying, setting the stage for your perfect samosas.
Additional Filling Ingredients
To elevate your samosa filling, consider adding a few more essential spices and ingredients that enhance both flavor and texture.
These additions will take your samosas from good to unforgettable. Start with finely chopped ingredients that complement the potatoes and spices you already have.
- Cumin seeds: They add a warm, earthy flavor.
- Green peas: Their sweetness balances the spiciness of the filling.
- Cilantro: Fresh cilantro brings a burst of freshness.
- Chili powder: Adjust the heat according to your taste preference.
Incorporating these ingredients not only enriches the filling but also creates a delightful experience with each bite.
You’ll impress everyone with your deliciously spiced samosas!
Detailed Cooking Instructions
Now that you have your spices and potatoes ready, it’s time to focus on the cooking process.
You’ll want to let the dough rest to achieve the perfect texture, then fry the samosas until they’re golden brown.
Finally, don’t forget to garnish with fresh cilantro for that extra burst of flavor!
Dough Resting Time Needed
While preparing your samosa dough, it’s essential to let it rest to achieve the right texture. Allowing the dough to rest relaxes the gluten, making it easier to roll out and shape.
Here’s how long you should let it sit:
- Minimum Rest Time: Aim for at least 20-30 minutes for optimal results.
- Cover the Dough: Keep it wrapped in a damp cloth or plastic wrap to prevent drying out.
- Temperature Matters: Resting at room temperature is crucial; avoid the fridge unless specified in a recipe.
- Feel the Texture: After resting, the dough should feel soft and pliable, ready for shaping.
This resting period is key to achieving perfectly crispy and delicious samosas!
Frying Until Golden Brown
After letting your dough rest, it’s time to fry those samosas to perfection. Heat oil in a deep pan over medium heat. Once the oil is hot (test by dropping in a small piece of dough), carefully add your samosas. Fry them in batches, ensuring not to overcrowd the pan.
- Keep the heat steady to achieve even cooking.
- Gently stir the samosas to ensure they fry uniformly.
- Fry until they’re golden brown, about 5-7 minutes.
Use a slotted spoon to remove them, letting excess oil drip off.
Place the fried samosas on a paper towel-lined plate to absorb any remaining oil. Enjoy the crispy, golden result of your hard work!
Garnish With Fresh Cilantro
Brighten up your samosas by garnishing them with fresh cilantro. This vibrant herb not only adds color but also enhances the flavor profile of your dish. Here’s how to do it perfectly:
- Choose Fresh Cilantro: Look for bright green leaves without wilting or browning.
- Rinse and Dry: Gently wash the cilantro under cold water and pat it dry with a paper towel.
- Chop Finely: Use a sharp knife to chop the cilantro into small pieces for an even distribution.
- Sprinkle Generously: Just before serving, sprinkle the chopped cilantro over your samosas for a burst of freshness.
This simple garnish elevates your dish, making it not just delicious but visually appealing too!
Enjoy your culinary creation!
Samosa Cooking Time Guide
Perfect Samosas Recipe
Achieve golden-brown, crispy samosas with this simple cooking guide!
Ingredients:
- Pastry dough
- Filling of your choice (e.g., spiced potatoes, peas)
- Oil for frying or baking
- Salt to taste
Instructions:
- Heat oil to about 350°F (175°C) for frying.
- Carefully add samosas, ensuring not to overcrowd the pan.
- Fry for 5-7 minutes, turning occasionally, until golden and crispy.
- For baking, preheat oven to 400°F (200°C).
- Bake for 20-25 minutes, flipping halfway through for even cooking.
- Keep an eye on them for the perfect crunch and color.
Use Chilled Water for Dough
Using chilled water for your dough is a game changer when making samosas. It not only affects the texture but also enhances the flakiness of the pastry.
You’ll notice a significant difference in your final product, making it worth the effort.
- Keeps the fat solid, promoting flakiness
- Prevents gluten from developing too much
- Results in a tender, crumbly texture
- Enhances overall taste and quality
Importance Of Chilled Water
Chilled water is essential for making the perfect samosa dough because it helps maintain the right texture. When you use cold water, it keeps the fat in the dough solid, preventing it from melting too quickly. This results in a flakier crust that holds its shape during frying.
Plus, chilled water slows down gluten formation, giving you a dough that’s easy to handle and less chewy. If you want that ideal crispiness, using chilled water is a must.
It also makes the dough more pliable, allowing you to roll it out smoothly without tearing. So, next time you’re prepping your samosa dough, don’t skip the chilled water; it’s a game-changer that ensures your samosas turn out perfectly every time.
Dough Texture Benefits
The texture of your samosa dough can make or break your dish, and opting for chilled water is a game-changer. When you use chilled water, you’re allowing the fat to stay solid longer during the mixing process. This creates a dough that’s easier to handle and less sticky, giving you better control.
A smooth, pliable dough is crucial for achieving that perfect samosa shape. Plus, it helps prevent the dough from shrinking while you roll it out. The right texture means your samosas will hold their filling securely without tearing.
Temperature Impact On Flakiness
When you opt for chilled water in your dough, you’re not just enhancing its texture; you’re also significantly impacting the flakiness of your samosas.
The cold water keeps the fat, like ghee or butter, solid, which is crucial for creating those delightful layers.
When you mix hot water, the fat can melt too quickly, leading to a dense dough that lacks that sought-after crispiness.
Caloric Content per Serving
Understanding the caloric content per serving of samosas is crucial if you’re mindful of your diet. A single samosa typically contains around 150-200 calories, depending on the filling and size. If you’re trying to keep track, knowing how many you’re consuming can help you enjoy them without guilt.
Here’s a quick breakdown:
| Samosa Type | Calories per Serving |
|---|---|
| Potato Filling | 180 |
| Meat Filling | 220 |
| Vegetable Filling | 160 |
When savoring these delicious snacks, consider pairing them with a lighter side or adjusting your meal plan for the day. Balancing your caloric intake ensures you can enjoy samosas while staying on track with your health goals.
Overfilling the Pastry Pockets
Overfilling the pastry pockets can lead to a messy cooking experience and affect the overall taste of your samosas. When you stuff them too much, the filling can spill out during frying or baking, resulting in a less-than-ideal presentation.
Plus, you might miss out on that perfect crispy texture.
Here are some tips to avoid overfilling:
- Use the right amount: Aim for about one tablespoon of filling per pocket.
- Seal properly: Ensure edges are tightly sealed to prevent leakage.
- Leave space: Allow for expansion during cooking by not packing too tightly.
- Test a few: Make a couple of samples first to gauge the right amount before filling all your pastry pockets.
With these tips, you’ll create perfect samosas!
Spicy Mango Chutney Pairing
When you’re pairing your samosas with spicy mango chutney, consider adding peas for a touch of sweetness.
Minced green chilies can also amp up the heat, balancing the flavors perfectly.
Together, these ingredients elevate your chutney and enhance your samosa experience.
Add Peas for Sweetness
Adding peas to your samosa filling not only enhances the texture but also introduces a subtle sweetness that beautifully balances the spices. When you mix in peas, you create a delightful contrast that elevates each bite.
This sweet addition pairs perfectly with the spicy mango chutney, making every mouthful a flavor explosion.
- Choose fresh or frozen peas for a burst of color and nutrition.
- Sauté the peas lightly with spices to deepen their flavor.
- Mix in a touch of lemon juice to brighten the sweetness.
- Experiment with different peas, like snow or snap peas, for unique textures and tastes.
Incorporating peas not only enriches your samosa but also complements the chutney’s tangy profile, making it a truly irresistible treat.
Add Minced Green Chilies
Spice up your samosa by incorporating minced green chilies into the filling. These little bursts of heat elevate the flavor profile, making each bite exciting. The chilies not only enhance the taste but also add a vibrant color to your samosas.
Pair them with a spicy mango chutney for a delightful contrast. Here’s how to make the most of those chilies:
- Choose fresh, tender green chilies for optimal flavor.
- Adjust the quantity based on your heat preference.
- Mix the chilies with other spices like cumin and coriander for depth.
- Don’t forget to balance the heat with a touch of sweetness from the chutney.
This combination will surely impress your taste buds and those of your guests!
Common Samosa Preparation Queries
When you’re ready to make your samosas, you might wonder about the essential ingredients you need.
You’ll also want tips for preparing the perfect dough and ideas for creative filling variations.
Let’s tackle these common questions to ensure your samosas turn out delicious every time.
Essential Ingredients Required
To create delicious samosas, you’ll need a few essential ingredients that form the foundation of their irresistible flavor. Start with all-purpose flour for the dough; it gives the perfect texture.
You’ll also want a mix of spices like cumin, coriander, and garam masala to elevate your filling. For the filling itself, boiled potatoes are a must; they provide a creamy base.
Add in peas for sweetness and texture, along with finely chopped onions for a savory kick. Don’t forget fresh green chilies for that spicy punch!
Lastly, oil is essential for frying, ensuring your samosas turn golden and crispy. With these ingredients, you’re well on your way to making mouthwatering samosas that everyone will love!
Dough Preparation Tips
Mastering the dough for your samosas is crucial for achieving that flaky, crispy texture. Start with all-purpose flour; it’s your best friend here. Don’t forget to add a pinch of salt for flavor.
When mixing, use ghee or oil to coat the flour, creating layers that lead to that desired crispiness. Gradually add water, kneading until you get a smooth, soft dough.
Let it rest for at least 30 minutes; this relaxes the gluten, making it easier to roll out. Keep the dough covered to prevent it from drying out.
Before rolling, divide it into equal portions for uniformity. With these tips, you’ll create a perfect base for your delicious samosas!
Filling Variations Explored
Exploring filling variations can elevate your samosas from ordinary to extraordinary. While potato and peas are classic choices, don’t shy away from creativity.
Try spiced lentils for a protein-packed option, or mix in some sautéed mushrooms for an earthy twist. If you love flavors, experiment with minced chicken or beef, seasoned with herbs and spices.
For a sweet touch, consider a dessert samosa filled with spiced apples or chocolate. Don’t forget to add fresh herbs like cilantro or mint to brighten your fillings.
Each variation brings a unique taste experience, making your samosas stand out. So, gather your ingredients, and let your imagination run wild—your samosas will be the talk of the table!
Perfect for Party Platters
Samosas are a crowd-pleaser, making them an ideal choice for party platters. Their golden, crispy exterior invites everyone to take a bite. You can mix and match fillings—spicy potatoes, peas, or even meat—to cater to different tastes.
Serve them with tangy tamarind chutney or cool yogurt dip for an extra flavor boost.
When arranging your platter, think about color and presentation. A sprinkle of fresh herbs can elevate the look. Make sure to keep them warm in a chafing dish or a slow cooker, so guests enjoy them at their best.
Plus, their bite-sized nature makes them easy to grab and go, perfect for mingling. Trust us, your guests will be coming back for more!
Frequently Asked Questions
Can I Freeze Samosas Before Cooking Them?
Yes, you can freeze samosas before cooking them. Just make sure they’re properly wrapped to prevent freezer burn. When you’re ready, cook them straight from the freezer for a quick, delicious treat. Enjoy!
What Oil Is Best for Frying Samosas?
For frying samosas, use oils with high smoke points like vegetable, canola, or peanut oil. These oils ensure crispy results and prevent burning, making your samosas deliciously golden and perfectly cooked every time you fry them.
How Do I Store Leftover Samosas?
To store leftover samosas, let them cool completely. Place them in an airtight container, separating layers with parchment paper. Refrigerate for up to three days or freeze for longer storage. Reheat before serving.
Can I Bake Samosas Instead of Frying?
Yes, you can bake samosas instead of frying. Just brush them with oil and place them on a baking sheet. Bake at 400°F for about 20-25 minutes until they’re golden and crispy. Enjoy!
What Are Some Vegetarian Filling Alternatives?
You can use mashed potatoes, peas, paneer, lentils, or mixed vegetables as vegetarian filling alternatives. Spices like cumin and coriander add flavor, and you can also try adding cheese or herbs for extra richness.
Conclusion
Now that you know how to make delicious samosas, it’s time to impress your friends and family with your cooking skills. Remember to experiment with different fillings and spices to find your perfect blend. Whether you fry or bake, these crispy treats are sure to be a hit. Serve them with some spicy mango chutney for an added kick, and enjoy the compliments that come your way. Happy cooking, and enjoy your flavorful creations!